The "No Disc" issue of MakeMKV to Rip Blu-ray/DVD
"I've ripped over 40 blu-rays and DVD's so far, however I have stumbled upon a few of them giving a "No disc" error. I have searched and found that it could be an issue with the drive, but some of the movies have been just out of the foil and the drive still rips other Blu-rays without issues. The issue is only regarding the blu-ray discs. Specs below:
OS: Win10 Build 14393
BD-ROM: USB3.0 Slim drive ECD008-SAU3
Movies affected: Expendables, Martian, Bourne series + some other movies.
MakeMKV version: 1.10.2 Beta
Not sure if the pc specs are necessary but the rig is with a 5960x cpu and 32g of memory. I don't have any other BD-ROM's, but I've thought of getting another "real brand" one to verify with. Just not entirely sure why it wouldn't read some specific discs? Could it be the encryption? Neither MakeMKV or the OS sees this."
Why no disc when using MakeMKV to rip Blu-ray/DVD disc?
"No disk" means MakeMKV asked the operating system about the status of the drive, and the OS said "No disk". While encryption issues give different errors - either that the access key used to read the disk was not acceptable (Key exchange failure), or debug errors because unexpected results were returned. Since MakeMKV relies upon the operating system telling it there is a disk in the drive, and allowing it access to it. If the operating system says "no disk", it will block MakeMKV's access to the drive.
Solution to fix MakeMKV no disc issues
Apparently that the Blu-ray drive that you are using is suffering incompatibilities with your OS, it would be much ideal for you to buy the latest BD drive which will let formerly unmountable BD disks now mounted rapidly and rip without problem.
Best MakeMKV alternative to fix the no disc issue
Some users reflects that they downloaded Pavtube Ripper application and the disk mounted immediately since Pavtube Blu-ray Ripper software doesn't depend on the system to mount the Blu-ray/DVD disc. It can automatically detect the Blu-ray/DVD disc inserted on your DVD/BD drive, and then scan the disc and select the main Blu-ray/DVD title for you.
If you are looking for a combo function of Blu-ray/DVD Ripper as best MakeMKV alternative, we highly recommend Pavtube ByteCopy (get Mac version) to you. This cross-platform application has perfect compatibility with the new Windows 10/8.1/8/7 and also macOS High Sierra, macOS Sierra, Mac OS X El Capitan, Mac OS X Yosemite and Mac OS X Mavericks, etc. It features built-in powerful disc decrypter to assist you to automatically bypass all Blu-ray/DVD copy protection in the background. In addition, it also keeps constant update with perfect ability to bypass the new encryption used on many recently released Blu-ray/DVD disc.
Unlike MakeMKV that only allows you to produce a lossless MKV file from Blu-ray/DVD disc, this powerful application also assists you to make a 1:1 full disc copy of Blu-ray/DVD with original file structure, fast main Blu-ray/DVD copy without unwanted comments, ads or trailers. You can also choose to rip Blu-ray/DVD to any of your desired digital file formats or hot devices and applications preset profile formats.
Apart from the core Blu-ray/DVD disc ripping function, the program also offers advanced profile parameters settings functions to allow you to flexibly adjust output video codec, bit rate, frame rate, resolution, audio codec, bit rate, sample rate, channels, etc. The versatile video editing function can facilitate to trim/crop/watermark/apply effect/add watermark to video. The beneficial subtitle function such as selecting desired internal subtitles, enabling forced subtitles or adding external subtitles to Blu-ray/DVD, etc also assists you to better understand Blu-ray/DVD movies after the ripping process.


How to Fix MakeMKV No Disc Issue with Best MakeMKV Alternative?
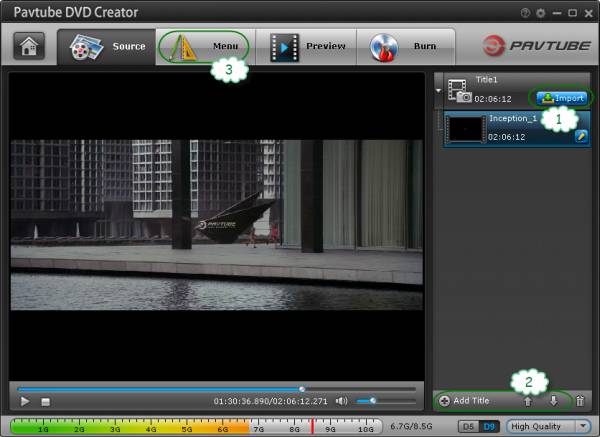
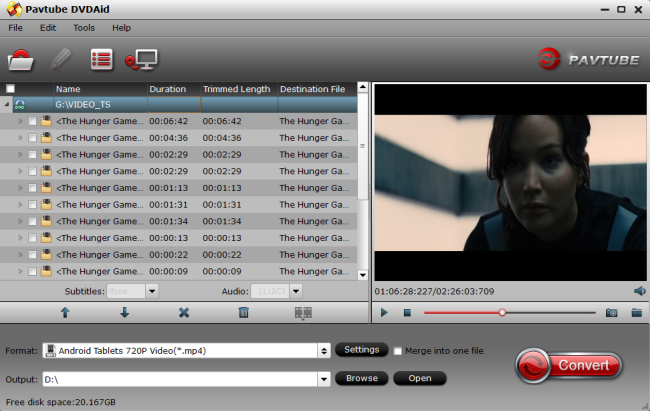
Step 1: Load Blu-ray/DVD disc with the program.
Insert DVD into your computer's optical DVD drive, for loading Blu-ray disc, you will need an external Blu-ray drive. The run the program on the computer, click "File" > "Load from disc" to load Blu-ray or DVD disc into the program. When both Blu-ray or DVD disc exists, the program will load DVD disc first.
Step 2: Copy/Rip Blu-ray/DVD disc in different ways.
Full disc copy
Make a full disc copy by hitting the  icon on the top tool bar of the main interface.
Main movie copy
From "Format" bar, select "Copy" > "Direct Copy" to copy the main movie of the Blu-ray/DVD disc.

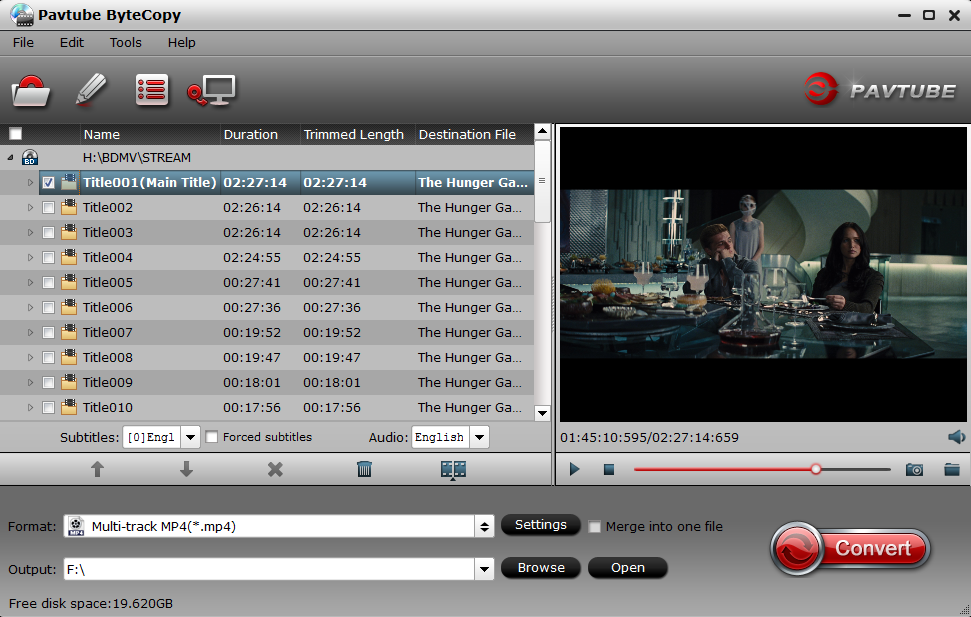
Lossless Multi-track MKV copy
To preserve all your wanted audio tracks and subtitles streams in the source movie, you can use the program to rip Blu-ray/DVD to " Lossless/encoded multi-track MKV(*.mkv)" under "Multi-track Video" category.

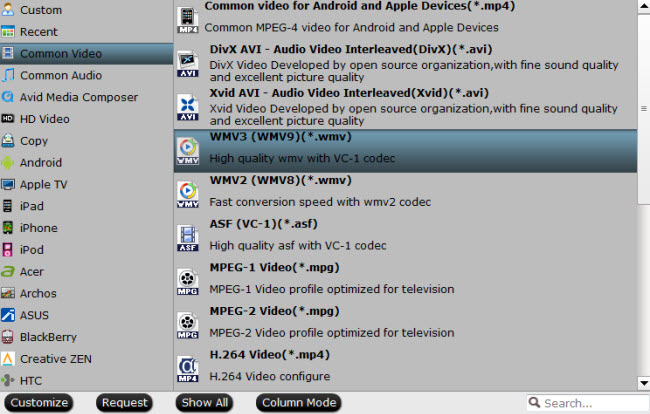
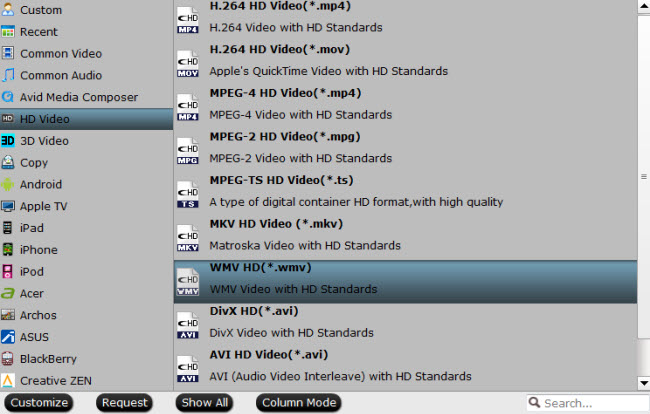
Output digital file formats or device preset profile formats
From "Format" bar drop-down list, select one of your desired file formats or device preset profile formats according to your own needs.
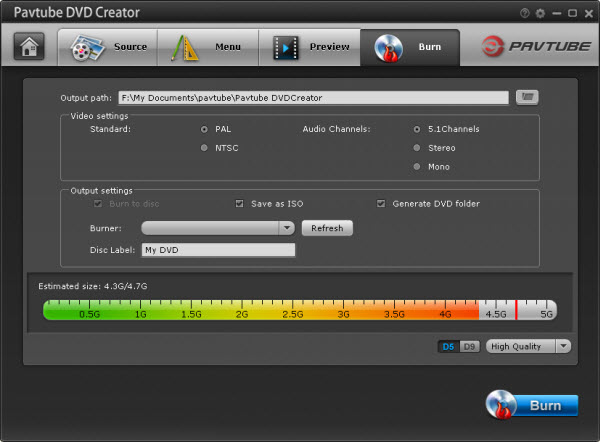
Step 3: Start final conversion process.
After finishing all the settings, go back to the main interface, press the right-bottom "Convert" button to start to copy or rip protected Blu-ray/DVD movies to any of your desired file formats.
When the conversion is completed, click "Open output folder", a window will pop out with all your converted files. Then feel free to copy your favorite Blu-ray/DVD to external hard drive, play with VLC on computer, transfer to portable devices or stream Blu-ray/DVD movies to TV via home media server or from USB drive.
Related Articles
Any Product-related questions?support@pavtube.com