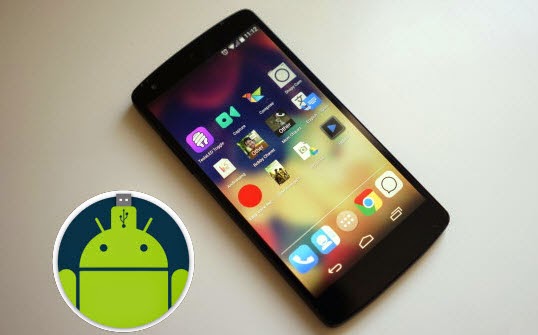
The Nexus 5 is Google’s new 5 inch Android phone, powered by Android 4.4, KitKat. Built with precision, Nexus 5 delivers an intelligently simple design and showcases a stunning full HD display. It comes in black and white, 16GB and 32GB.

Nexus 5 – Android debugging, USB file transfer
On the Nexus 5, enable USB debugging. Where’d it go!? Well, it is hidden now:
http://developer.android.com/tools/device.html
Note: On Android 4.2 and newer, Developer options is hidden by default. To make it available, go to SETTINGS. Bring up the STORAGE settings. Tap the little three square dots icon in the top right corner. Select “USB computer connection“. This will bring up two connection options.
You can select “Media Device (MTP)” which is the default setting and will NOT allow you to import you photos. The other option is to select “Camera (PTP)“. This mode will allow you to import you photos. In Lightroom, for instance, the device immediately appears as “Nexus” in the photo importer.
However, what if you forget where the USB cable was, or don't like dragging it around with you everywhere? If it's a shoddy third-party cable, you might even have problems transferring period. Want a better way for transfer files to and from PC & Mac to your Nexus 5? Hold on reading.
Nexus 5 – Transfer photo, videos, music from PC & Mac to Google Nexus 5
Therefore, you first need to install Android File Transfer. By following these steps you can mount the phone and copy local videos, music and pictures to Google Nexus 5 for watching on the go.
Note: Remember, you will need to switch back to MTP mode if you wish to use the various file transfer programs and sync programs including Android File Transfer.
Below are the Mac solution:
1. Install the free Android File Transfer application on your Macintosh. It’s available from www.android.com/filetransfer, along with instructions on how to install it.
2. After you install Android File Transfer, connect your Nexus 5 to your Mac via the USB cable. Wait for the phone to get connected and drivers to be installed.
3. Open up the Android File System app. It should recognize your Nexus 5 and then will automatically open up with your internal phone memory directories.
Tip: If you get a “No Device Found” message, be sure your Nexus 5 is in Media device (MTP) transfer mode. You can do this by swiping down to open the notification tray and then tapping on the Connected As… message.
4. You can drag and drop files and media (video, music and photos) into the window (Nexus 5). Additionally, you can create new folders and delete files. During this time, you can’t access the SD card from your Nexus 5 or share your Android phone’s data connection with your computer via USB.
5. When the videos are copied to Nexus 5, you can disconnect your Nexus phone from Mac.
Like the Nexus 7, it does not include an SD card slot for additional storage, so you may need a Mac Video Converter for Nexus 5 to compress very big file to smaller file size. (Here is Lists of Best Video Converter Ultimate Review)
Note: You need to make sure that the file format is supported by the Nexus 5 before transferring video/music to Nexus 5.
Refer to Google Nexus 5 supported codecs:
Video codec: H.263, MPEG-4 SP, H.264 AVC
Audio codec: AAC LC/LTP, HE-AACv1 (AAC+), HE-AACv2 (enhanced AAC+), AMR-NB, AMR-WB 9, MP3, MIDI SMF, Ogg Vorbis, WAV
MKV, MOV, Tivo, FLV, TS, and some AVI videos are not accepted formats and you have to convert HD videos to Google Nexus 5 optimized H.264 .mp4 files before transferring them to the phone. Your Blu-ray and DVD movies can also be compressed to fit in Nexus 5 with handy shareware, Detailed steps reference the following course:
- Transfer MKV, AVI, VOB, Tivo, MPG, FLV to Nexus 5
- Watch Blu-ray movies on Google Nexus 5
- Convert DVD movies to Nexus 5 with best quality
4GB file size limitation for Android:
How to split a large video file into several small files under 4GB?